Saturday, December 22, 2018

Last Minute Christmas Cards


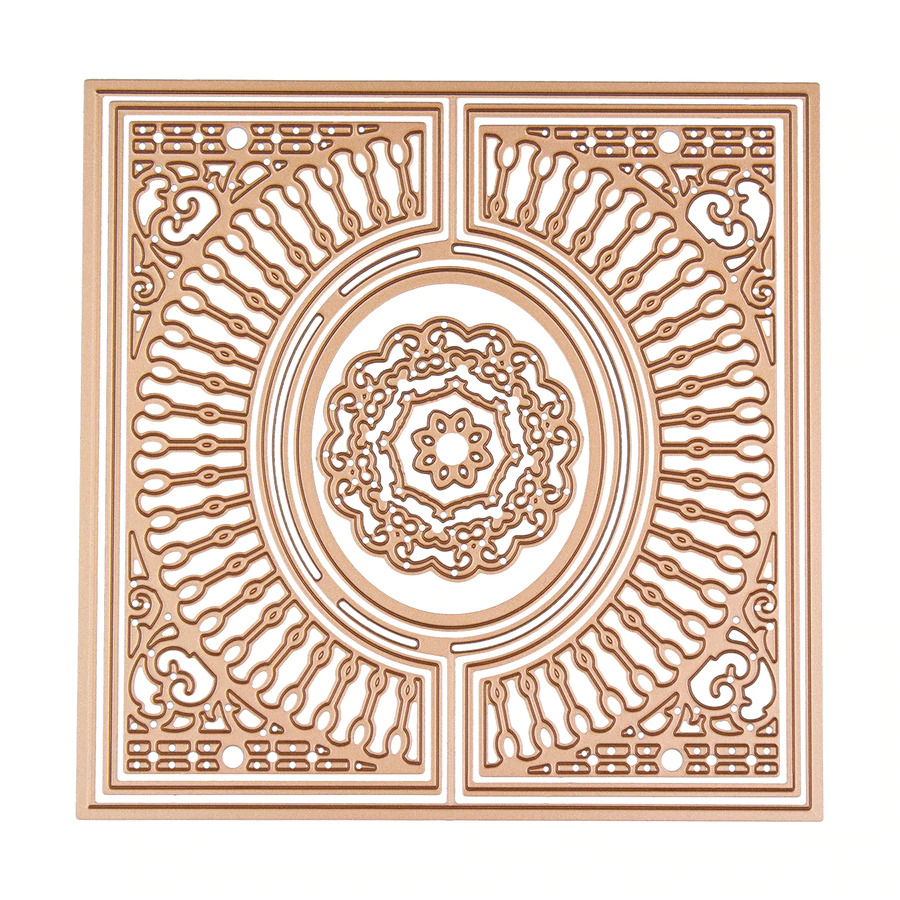
I am so excited to share my newest card i just made with all of you.  I am a true lover of all things victorian and i think this card really says alot about that.  I love all the tiny details in all the dies and the glimmer plates and mixing them.... well that is the best part.  

There are a dozen colors that you can get in the glimmer but this pink i used for the Joy plate really was gorgeous.  I also used Becca Feeken's newest plate called " Elegant Oval".  It has a mixture of gorgeous swirls and a sentiment but for this i only used the outside piece and heated it with the silver foil.  


And then after all the pieces were done i layered them with 3D foam squares and added some ribbon through the side and a pretty bow.


And then I added the tiniest of rhinestones to that beautiful ornament and the sides of the swirls.  It's so pretty in person and i know the perfect person to give it to. 

Thank you for stopping over today and i hope that you and your families have a very Merry and Festive Holiday season.  And don't forget to check back with us for all the new things from Becca Feeken in the New Year.... it's going to be amazing as always!!

    Hugs and Smiles!!

Teresa


Supplies:


Sunday, December 16, 2018

A little bit of Festive Wrapping


It's getting closer to Christmas  ( only a week away now- yikes) so i am trying to get some things wrapped this weekend and get ahead before we have all of our family get togethers.  Today i am sharing a decorated box i created to put in a special gift that i made.  I started with just a simple white box that you can get from your local craft store and then added some Christmas paper and foil card stock to match my new foil plate from Becca Feeken that i used on the top.


This plate is called "Elegant Circle Glorious Glimmer Hot Foil Classic Plates by Becca Feeken".  It's a beautiful set of 2 plates that can be done together or separate and added for a 3D effect.  I used the two outer plates on white card stock and then added this gorgeous poinsettia and lots of rhinestones.


Here is a quick view of the top with all that glorious glimmer.  It's super easy to do and just a tip for you... let the plate heat up really good and then when you run it through your machine,  go slow and do it 2X.  I like to let it set for a second and then i gently peel off the glimmer.  It's amazing and you will love what you can do with all of these plates for things......

Thank you so much for stopping by and see you all next week!!

Happy Holidays... Teresa

Supplies:

Spellbinders: 

Elegant Circle Glorious Glimmer Hot Foil Classic Plates by Becca Feeken


Paper: Kaisercraft Christmas

Monday, December 10, 2018

Amazing Grace December Die of the Month Blog Hop


Good morning!!  Every month we'll be bringing you inspiration for the Die of the Month; today is our Die of the Month Blog Hop!!   The Die of the Month is like a "swiss army knife"  you can manipulate it to do a variety of things.  At the very least you can do a card and normally you can use the pieces and parts for cards and other 3D items.  The Creative Team has joined in for everyone to give you their spin, in their style.  We hope you'll see something that resonates and inspires you.

If you are new to our blogs, the Die of the Month is an exclusive die Becca has designed for Spellbinders - it is called Softly Spoke'n Flip and Gatefold Die.  This particular set has 9 dies and they can be used to make a background, a gatefold card, a tent card and the individual dies in the set can be used for many things.

If you want to find out more about the Club - prices, how you sign up and what's included, please look --------; HERE.
If you missed the introduction and want to know more about what inspired the Die of the Month Club, look -------;HERE.

Amazing Paper Grace December 2018 Die of the Month by Spellbinders - Softly Spoken - learn about this die at wwwamazingpapergracecomp34430
My First Project:


      I love to make money cards so using the beautiful die this month to create one for a birthday coming up in the family was just perfect.  I created the fold over part of the die for the front and made a small pocket inside to add the money for the gift.  And behind that i added another layer for a sentiment.  Each layer is carefully matted with off white and a light pink to make the beautiful details in the die really shine.


 Here is a peek at the inside and the pocket that i created.  The die has a fold on it so i created a small one to fold up for the money pocket.


I really love the center pieces in this set and this will be fun to mix with other dies.

My second project using this new die set is:


This shadowbox frame i made for a family friend of his grandparents.  It's such a gorgeous picture and deserves to be out on a table to admire.  Imagine doing this for a wedding gift, wouldn't that be nice!


Supplies: 

Papers: for both projects you will just need basic card stock in ivory, light pink and some gold.  

Ribbon: Silk from the Stamp Simply Ribbon store

Rhinestones and Pearls: Micheal's Craft Store

Flowers: Micheal's Craft Store

There is much more inspiration in store for what you can use this die set for.  Just pop down the list of Creative Team Member to see more!

Visit Joanna   – joannakrog.blogspot.com
Visit Teresa   –  victorianpaperqueen.blogspot.com
Visit Ewelina - elinaart.blogspot.co.uk
Visit Melissa  – keepsakesbymelissa.blogspot.com 
Visit Judy       – judyhayesdesign.blogspot.com
Visit Becca     – amazingpapergrace.com/blog

Thanks so much for joining us for the Amazing Paper Grace December Die of the Month Blog Hop.   We can’t wait to see what you make with these exclusive dies – be sure to post your creation on Instagram using the hashtag #AmazingPaperGraceClubKit.

Saturday, December 8, 2018

Sealed with a Thank you


There are so many gorgeous plates in Becca's new foil line it was really hard to choose what to use this week.  But after laying a few out i came up with an idea to create a simple and elegant Thank you card using the "Foil Seals" set and mix it with the "Elegant Square".  

To keep it simple i used the 2 outer plates together and heated the turquoise foil on a single piece of white card stock for the base.  Then i trimmed the outside edge really tight around the foil and matted it with silver, light teal and a darker teal to match the foil.

 Here is a view of what all the plates look like in the set....


So from the Foil Seal Set i chose the "Thank you" seal and heated that with a bright silver to match the silver i used to mat the bottom edge.  It came out perfect and since this set comes with an extra die to cut out the edge of the seal i did that and then used one of my old Becca Feeken dies to cut pieces of silver swirls to frame and hold up that beautiful Thank you seal.  And i had an extra glittery snowflake so i cut that in half and tucked that under both edges of the seal and added a few rhinestones.  It went together in a snap.

How wonderful to make these beauties for wedding a thank you in matching colors? Or just everyday thank you cards to send to your friends, family and co workers.

Here are the other Seals that you get in this set and I don't know about you but I can think of so many things to use these for.  This is a perfect set to get for everyday projects. 

Well that is all for me today and i am glad you stopped by.... hope to see you again soon.

Hugs and Smiles... Teresa

Supplies:

Elegant Foil Seals Glorious Glimmer Hot Foil Classic Plates by Becca Feeken


Saturday, December 1, 2018

Wishing you Winter Cheer


Hi and thank you for stopping over today for a little few more hot foil ideas with Becca's new plates that were just released.  Today i used another of my favorite plates called " Elegant Border Glorious Glimmer Hot Foil Classic Plates".  I created two different styled cards and i hope that you like them.

For my christmas card above- i used the border with gold foil on white card stock for the front layer and then i added layers of gold and red metallic paper underneath to frame it.


I kept it simple and easy by just adding a few banners on the left side that i flagged the edges on and a pretty poinsettia with gold threads and white silk ribbon to make it look more festive.  This one is going to a very special cousin i have in mind and i hope that she likes it.


And for this card i added the darker pink foil to a piece of pink paper that i fussy cut on the edges.  I then added another layer of the darker pink under the side edges and fussy cut them to give it a bit of a shadow.  Then under that i used the Hemstitch Rectangles to create an elegant border and lined it with silver metallic card stock and the darker pink card stock that i used for the shadow.   And all of it was attached to a soft pink card base. 


And just to add a bit of a feminine touch-- i added 3 beautiful pink roses that matched and a sweet silk bow in a matching pink.  Inside to finish it i added a beautiful sentiment I stamped to say Hello to a friend.  I love pink and i know that she will love it too.  

Thanks so much for stopping by and i hope that you stop back in for more ideas and also our Blog Hop coming up for our second new "Die of the Month".

Supplies:

Elegant Border Glorious Glimmer Hot Foil Classic Plates by Becca Feeken


Stamp: Penny Black Stamps

Adhesive: Scrapbook Adhesives by 3L

LinkWithin

Related Posts Plugin for WordPress, Blogger...