Saturday, February 24, 2018

Wedding Day Memories Mini Album


It's time for another share today with the 3D Vignette dies from Becca Feeken and Spellbinders.  All week we are sharing lots of ideas for mini books so be sure and stop over to all of our teams blogs this week to get inspired.  My book is a wedding flip book and inside there is lots of pages that flip up and out to put some of your favorite pictures in to save or give as a sweet gift for the bride and groom.  And it's really easy so grab a cup of coffee and i will walk you through it.


To start this project you will need a thin piece of 12x12 chipboard, a pencil and a paper trimmer.  Cut a piece of the chipboard that measures 10x 4 5/8.  Just cut one piece straight across.  Then score the chipboard on the ends at 4 1/4 inches like you see above just enough to make it bend.  Cover it with kraft paper to give it more stability on the inside and out.  ( i put light peach paper on the inside) Let that dry.


For the inside piece cut a 12 x12 piece of light peach paper and scor it 4" from both ends.  Then scor the inside 9 times at 1/2" to make the 4 folds like you see above.  You can make it fancier by die cutting the ends with the scallop part of the new "Tiered rosettes etched die set".  


Then glue the whole piece to the inside of the chipboard book like you see above.  


To make the inside pages you are going to cut 4 pieces of the peach paper to measure 7 1/2 x 4 1/4". fold them in half.  And to make the flaps on 2 of them i also cut 2 pieces of paper 3 3/8 x 8 1/4" and folded them in half.  Then i glued them on the right side with double sided adhesive only on the top of the back so that it will flip up for more pictures.  If you glue the pages in with double stick adhesive tape it will hold better and go faster. (I used to teach a flip folder scrapbook and it was the most fun project to do so this is just a mini one).


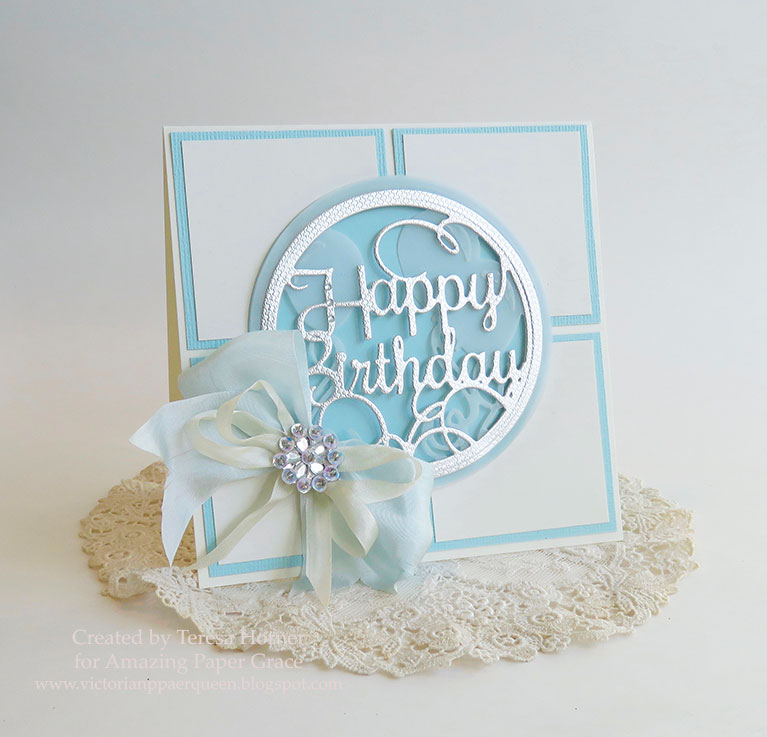
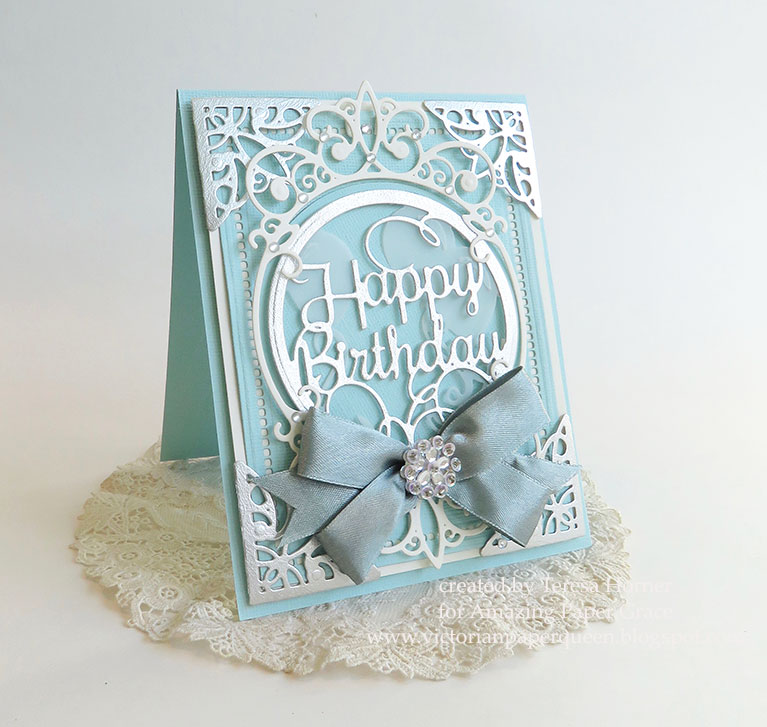
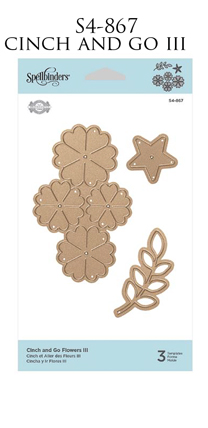
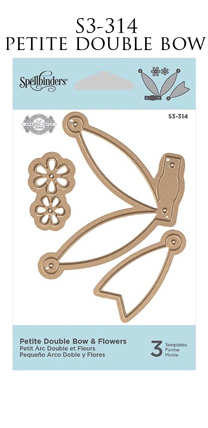
The flowers i made for the bottom are done using the "Petite Double Bow and flower etched die set and Spellbinders Bitty Blossoms die set.  This way all of it will match perfect since i use the same papers together.  


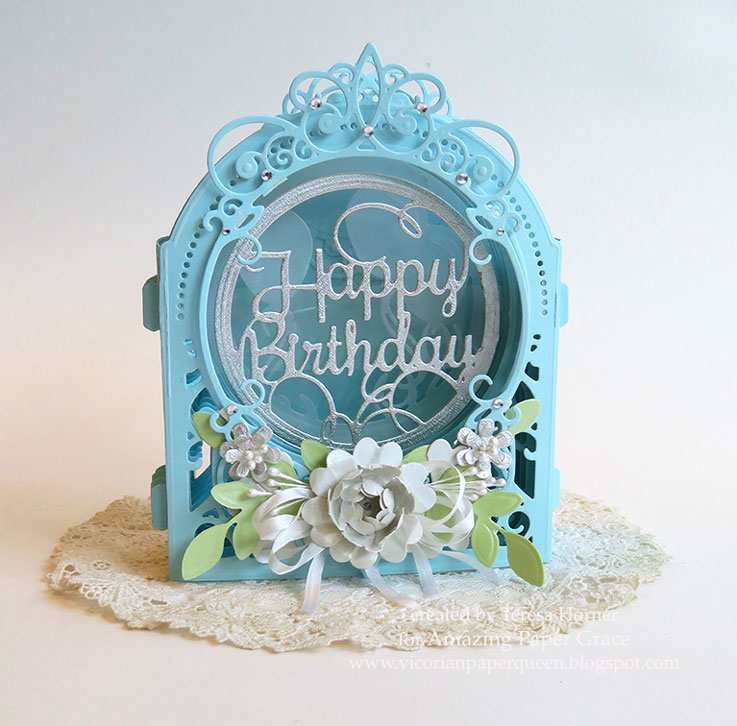
For the outside spine i used the Filigree Bookmark tag die and cut it out of ivory and trimmed it to fit on the outside edge of the book.  It adds the perfect swirls to accent the front die i think.  And then to keep the insides nice and tight i added a piece of white twine that i tied in a pretty bow with a tag to match. 


And here is what it looks like from the top so you can see inside the pages.  There is lots of room for pictures and you can decorate with some of your favorite dies from this new collection to match it.

Thank you so much for stopping by and just in case you need to buy a few dies here is my list:

Spellbinders:

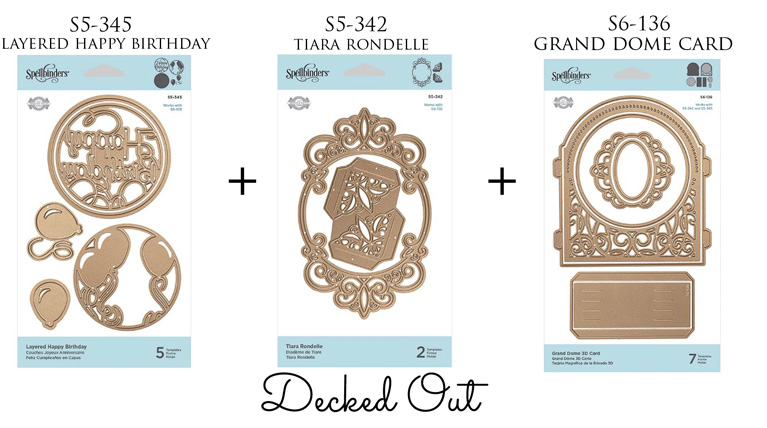
Grand Cabinet 3D Etched Card die set
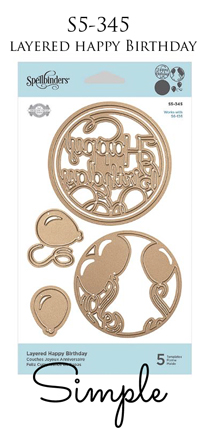
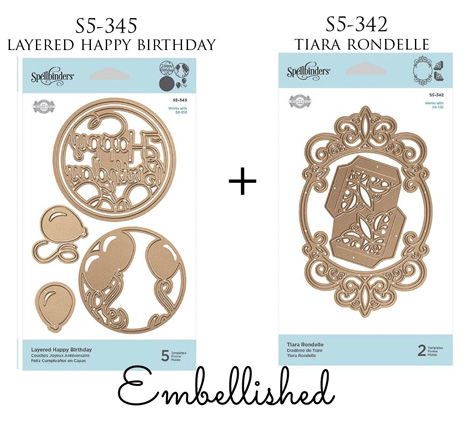
Layered Happily Ever After Etched Die set
Tiered Rosettes Etched Die set
Petite Double Bow and Flowers die set
Filigree Veil Etched Die set

Paper:   Bazzill Basics
Adhesive: Scrapbook Adhesives by 3L
paper trimmer, ruler, chipboard, scissors, white twine, adhesive pearls

Saturday, February 17, 2018

You bring Joy to my Heart


Hi and welcome to my blog on this gorgeous Saturday... I have a very special card to share that i made this week with a few of the new dies from Becca Feeken's newest release of 3D Vignette dies.  This week our design team is creating Z cards in all shapes and sizes so i hope you like my easel card.... it's one of my favorites so far.

With this card i started the base with the "Grand Cabinet" 3D vignette die but i only cut one and kept it flat to use as a frame.  Then I created a pretty border for the edge with the "Tiered rosettes etched die set".  This was fun because you can use only the edges in the set to cut borders and add pretty details for your cards and projects.  The stamp is from Penny Black and i used Versafine ink in onyx black to make the edges crisp and perfect. 


For the base of my card i created a Z fold base and then added a piece of decorative paper from Prima to the back and to the front in that gorgeous shade of teal blue.  Then for the other piece i created a simple card out of ivory and built the design on the front of it.  And when it was all done i attached it to the back of the card and added that little decorative ivory piece at the bottom so that you can slide the bottom front of the card into it to stand up.  This way you can mail it flat but stand it up to enjoy it for days to come.  I love that because you spend alot of time on cards and it's nice to enjoy them other days too.


You can see here how the card folds closed by gently undoing the bottom piece and laying the card flat over the top.  Inside there is room to leave a gift card and write a special sentiment to the recipient.  


And lastly all the flowers on the top were done with the Cinch and Go flowers 3 die set and the tiny few on the sides are from the bow die set.  I really love the victorian look and feel of this one and i hope that you get a little inspired to create some fun projects of your own too.  

Thank you so very much for stopping by today... Hugs and Smiles... Teresa 

Supply List:


Prima Marketing 6x6 paper pad 

Penny Black Stamp: Smitten

Adhesives: Scrapbook Adhesives by 3L 

Friday, February 16, 2018

Sparkling Snowflakes


Hi and welcome to my blog today... I had lots of extra time this week so i thought i would create a few extra cards to share this month with some of my favorite Quietfire Design Stamps. 

Winter is still with us -so says the groundhog this year- so i picked a snowflake sentiment from the Quietfire store and i found some gorgeous papers with snowflakes and sparkles to i put it together. I just did simple layering for the backround and then used an oval die to stamp my sentiment on in burgandy.  Then i added a pretty skrunchie blue bow on the side and  I even had a crystal star in my stash to finish it off.  I am not sure who i am going to send it to yet but it's pretty just to stand on its own.


The stamp i used is called "We only have this moment" and the calligraphy that Suzanne created for this stamp is absolutely stunning.  If you love it you can check out the store >>> HERE   There are so many pretty stamps that she carries and she even has sets of clear stamps too.  You will love them!!

So that is my quick share today and I hope you have a wonderful weekend !!

Teresa

Saturday, February 10, 2018

Happy 25th Anniversary


I hope you all loved all the new dies that we previewed in our hop this week and it's time again to share another special die from all of our  Design Team.  Each of us is sharing a special project that we made with the new "Filigree Numbers Etched die set" for you so be sure and stop over and visit everyone to be inspired with more ideas when you order your dies on the 15th.  How exciting!!


So for my card i went with the traditional silver for a 25th wedding anniversary and paired it with soft shades of blue to cut the dies to use for the base and the door.  I used the new Shapeabilities Ornamental Arch Etched die to make the strip for the bottom and around the door and cut the center in silver paper to match with the letters.


One of my favorite new dies and you will love it is the "Petite Double Bow"  You can make a single one like I did to finish the bottom of the card or double it up to really show it off.  The tiny flowers are also included in the set and you can keep them simple or use your stylus and shape them into works of art.  


And to make it more like the doors on a church i cut the panel in the center so that i could add a small strip like a hinge for it to open and stamp a beautiful sentiment inside.  The little leaves on the bottom also work to keep the door closed.  This was a really fun card to create.  I hope that you will order this one, it's so perfect for all the birthdays and events that you have in your everyday lives.

Thank you so much for stopping over again!!  Be sure and check Becca's blog for the winners of the hop soon.  Best of luck to all of you that joined us on Wednesday!!  

Supplies:

Spellbinders by Becca Feeken

Stamp: Penny Black

Paper: Bazzill Basics in white, blue and light blue, Silver metallic cardstock

Adhesive pearls, scissors, paper trimmer and adhesives

Wednesday, February 7, 2018

INTRODUCING AMAZING PAPER GRACE – 3D VIGNETTES


Welcome friends, today we are introducing a brand new die collection by Becca Feeken for Spellbinders called 3D Vignettes.


3D Vignettes is a series of dies that can be included in a Grand Base die to create 3D upright cards that folds down flat to go into an envelope - a collapsible tunnel card!  You can see it in action in the 1.5 minute video -----; HERE.  


Where these Vignettes are unique, is the ability to die cut or not die cut each and every layer for an ethereal see through dimensional creation.  The collection was designed to cut out whole or to be cut out inlaid for inclusion in a Grand Base.  The collection centers around three themes - baby, love and birthday, and today we show you traditional uses but a little dreaming, only the sky is the limit.

The dies and elements can be used as standalones or in the Grand Base there is a good degree of mix and matchability across the entire collection.  I've made three cards to show you how easy it is to isolate different sets or combine them all into one, they are:


  • The Simple Card - There are two layering dies which can be used as inserts or used on their own in regular cards.
  • The Embellished Card - There is a set of shaped dies, these add drama or can be used on their own in regular cards.
  • The Decked Out Card - There is a 3D Grand Card, standing, yet collapsible, made for use with purchased inserts or to use with dies from your own stash


The sets I'm introducing today are S5-345 Layered Happy Birthday, S5-342 Tiara Rondelle, S6-136 Grand Dome

 My Simple Card


  My Embellished Card


 My Decked Out Card

Extra Embellishments I used on my cards:


        I really loved working with all these new Happy Birthday themed dies that Becca designed and had such a good time with each of them.  In keeping with the themes I kept my first card simple and let the Happy Birthday Medallion be center stage on a simple squared backround with a soft and flowing silk bow.
       On the second card i added that beautiful "Tiara rondelle" die set over the top with foam dots and the victorian corners were perfect to add even more detail to the card.  And for each of the cards i added vellum behind the Happy Birthday die to give the shadow of the balloons a sweet and cloud like look.
       For my decked out card i went all the way with simple to do flowers, layering with clear acetate to see through all the layers and used the little extra dies with swirls on the tops to make it that much more glamorous!!  And aren't the colors just scrumptious?  And to think you can fold it down and send it in an envelope... it is truly amazing!!
                                                            
These dies are available on February 13, 2018 - get email notification the moment they are loaded by clicking on the die set and putting your email address and clicking on Notify Me ---- HERE.

In the meantime, be sure you leave a comment on this post for a chance to win an Amazing Paper Grace Die from the Chantilly Lace Collection.


Prizes:
There are six dies that are being given away. One name will be randomly picked from comments left on each of our six blogs on the Introducing 3D Vignettes post between February 7 and February 11, 2017 at midnight US Central Time and our international friends can participate!  The randomly selected names will be announced on the Amazing Paper Grace Blog on February 12th.  (All giveaways for this hop are managed by and the responsibility of Amazing Paper Grace)


Up for grabs is an Amazing Paper Grace die of your choice from the the Chantilly Lace Collection; there will be a total of six dies and a winner can win once among all six blogs.   If your name is selected, simply claim it within 2 weeks of announcement by sending your address through the form under the Contact Tab on the Amazing Paper Grace Blog. The dies will be mailed out from Amazing Paper Grace.

Click the links to get to more sweet samples:
Visit Joanna   - joannakrog.blogspot.com to see her 3D Vignettes Cards with the Love Theme.
Visit Teresa   -  victorianpaperqueen.blogspot.com to see her 3D Vignette Cards with the Birthday Theme.
Visit Jo           -  prettypaperpearls.blogspot.com/ to see her 3D Vignette Cards with the Baby Theme.
Visit Melissa  - keepsakesbymelissa.blogspot.com  as she shows off Large Filigree Numbers
Visit Becca     - amazingpapergrace.com/blog to show what she's doing with Layered Rosettes
Visit Judy      -  judyhayesdesign.blogspot.com/ with a clever project using one of the 3D Bases

Thanks so much for joining us for Introducing 3D Vignettes!

Leave a comment - tell us, which of these dies would is closest to your heart?


LinkWithin

Related Posts Plugin for WordPress, Blogger...